
Eight things every educator should be able to do with an iPad
Back in the day, educators and students used to have to complete a multitude of tasks to access and operate third-party applications. It was a bit of a nightmare and led to many not utilising the amazing features this product can bring to the classroom.
But never fear, no longer do you have to go through lengthy processes or use additional hardware to do things like split screen or drag and drop. In this post, you’ll find ten of the most important things educators should think about in order to make the most of their iPad (ios11).
1. Control Centre Customisation
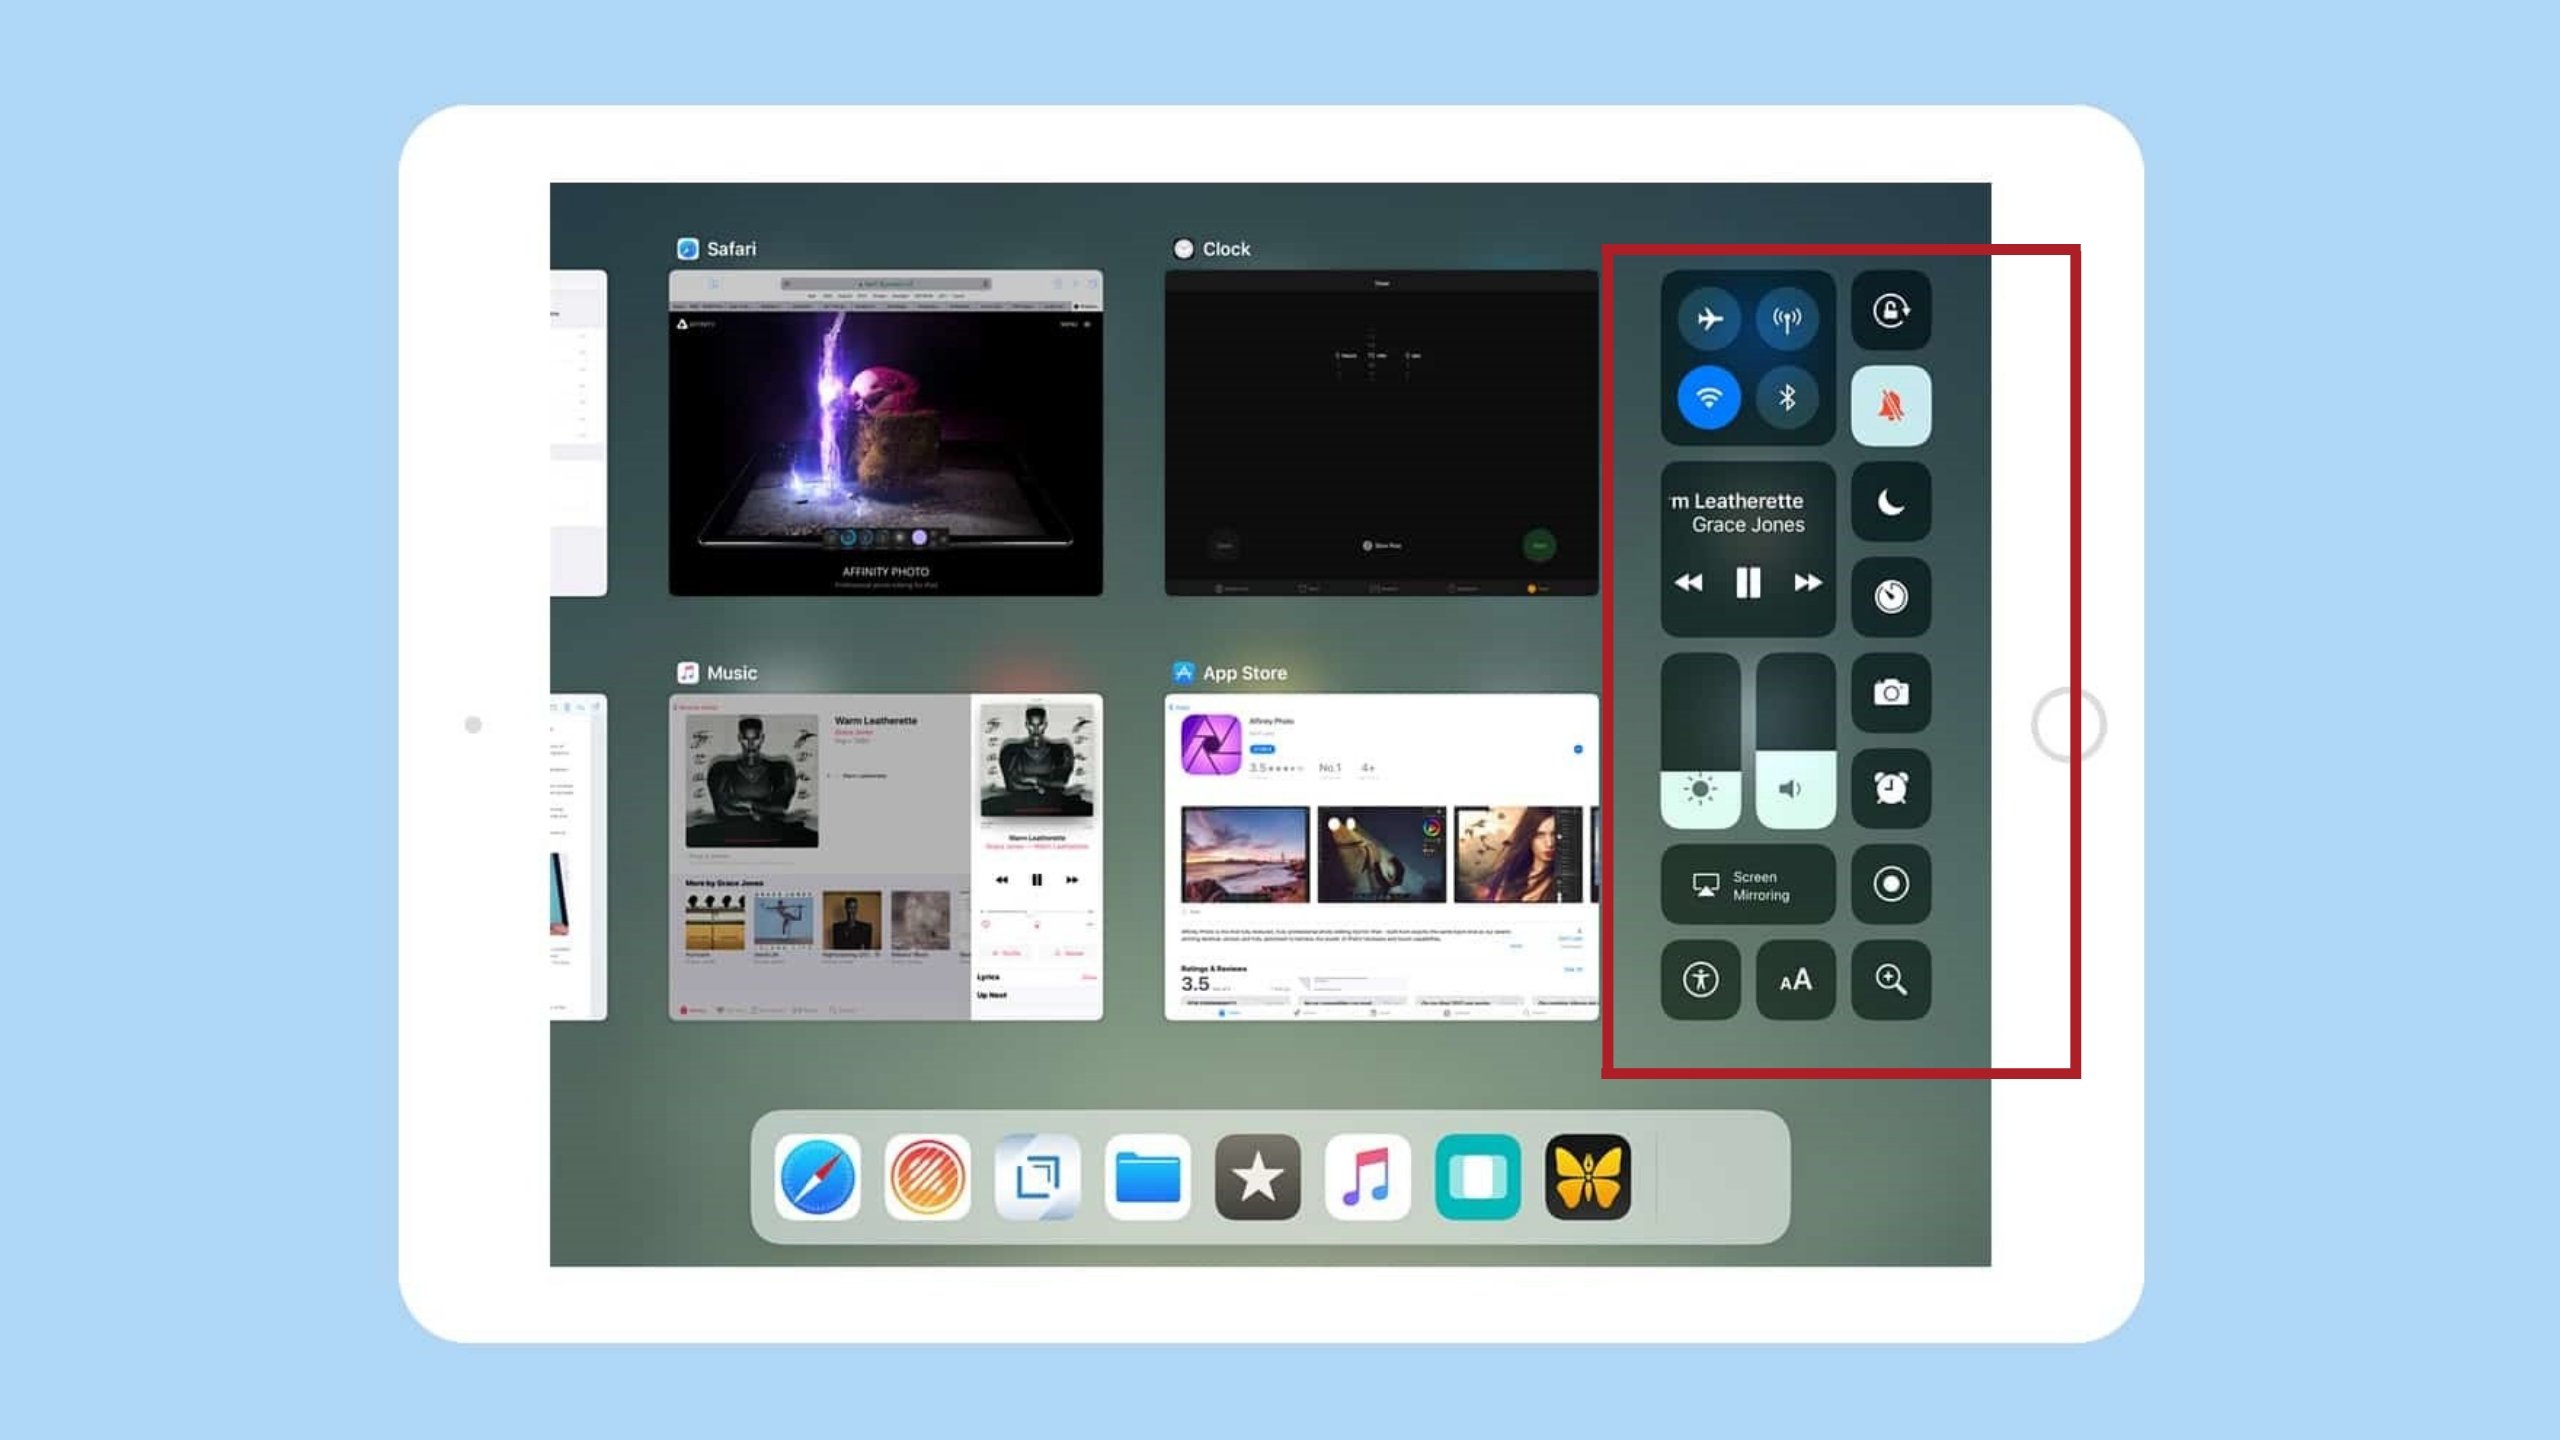
The control centre of your iPad is the hub of shortcuts that can help to make your life easier. To access your control centre, simply swipe up from the bottom of your screen to be presented with this view:
The area highlighted is where all of your different shortcuts to different activities can be found. You can customise these options by going to:
- Settings >> Control Centre >> Customise Controls
From here you can add or remove the various features you’d like to add such as those you can see in the selection. The best feature you can add to the Control Centre is the screen recording option (see point 2). It’s great because it can be used to record anything on your screen.
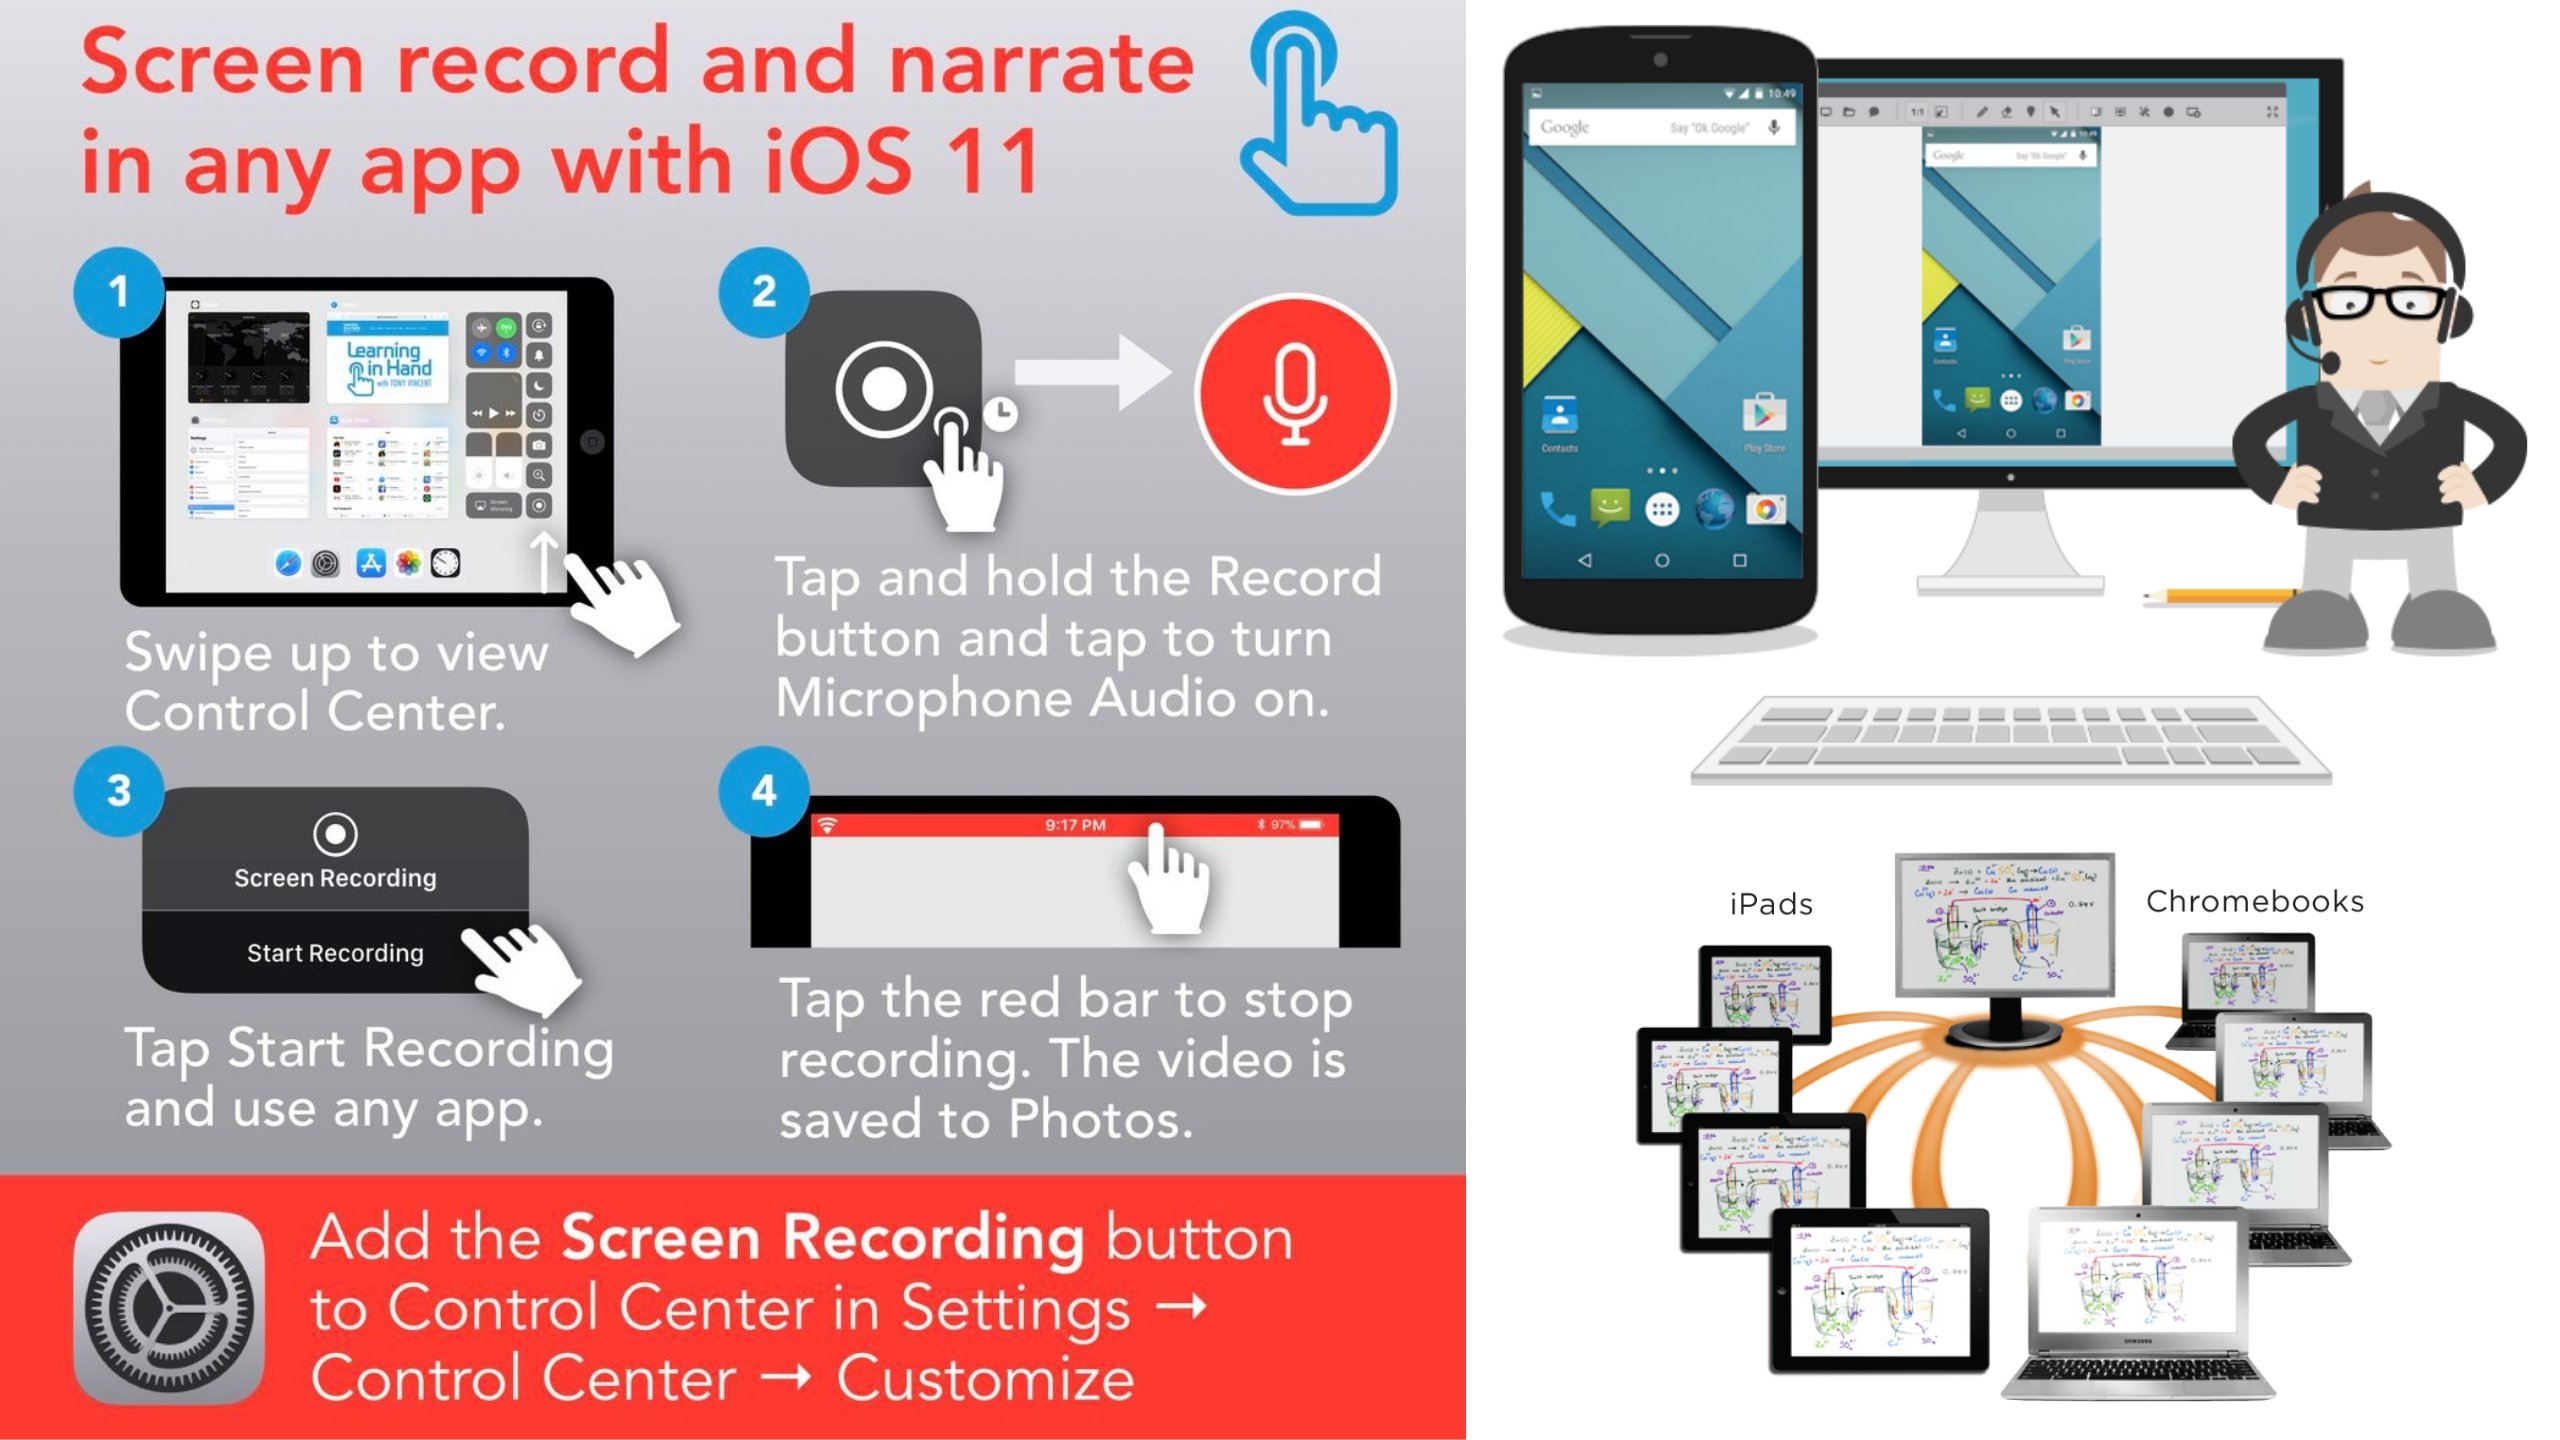
2. Screen recording
Screen recording has historically been a source of frustration as it was never a particularly easy undertaking to record actions on an iPad screen…. until now! Screen recording can be added to your control centre as an option through the Control Centre Customisations as mentioned above.
To record your screen, simply swipe up from the bottom as usual to access your Control Centre. Then simply tap on to the screen recording icon. This is a great way of preparing walkthrough videos for a class or live recording a pupil’s work when they’re using the device.
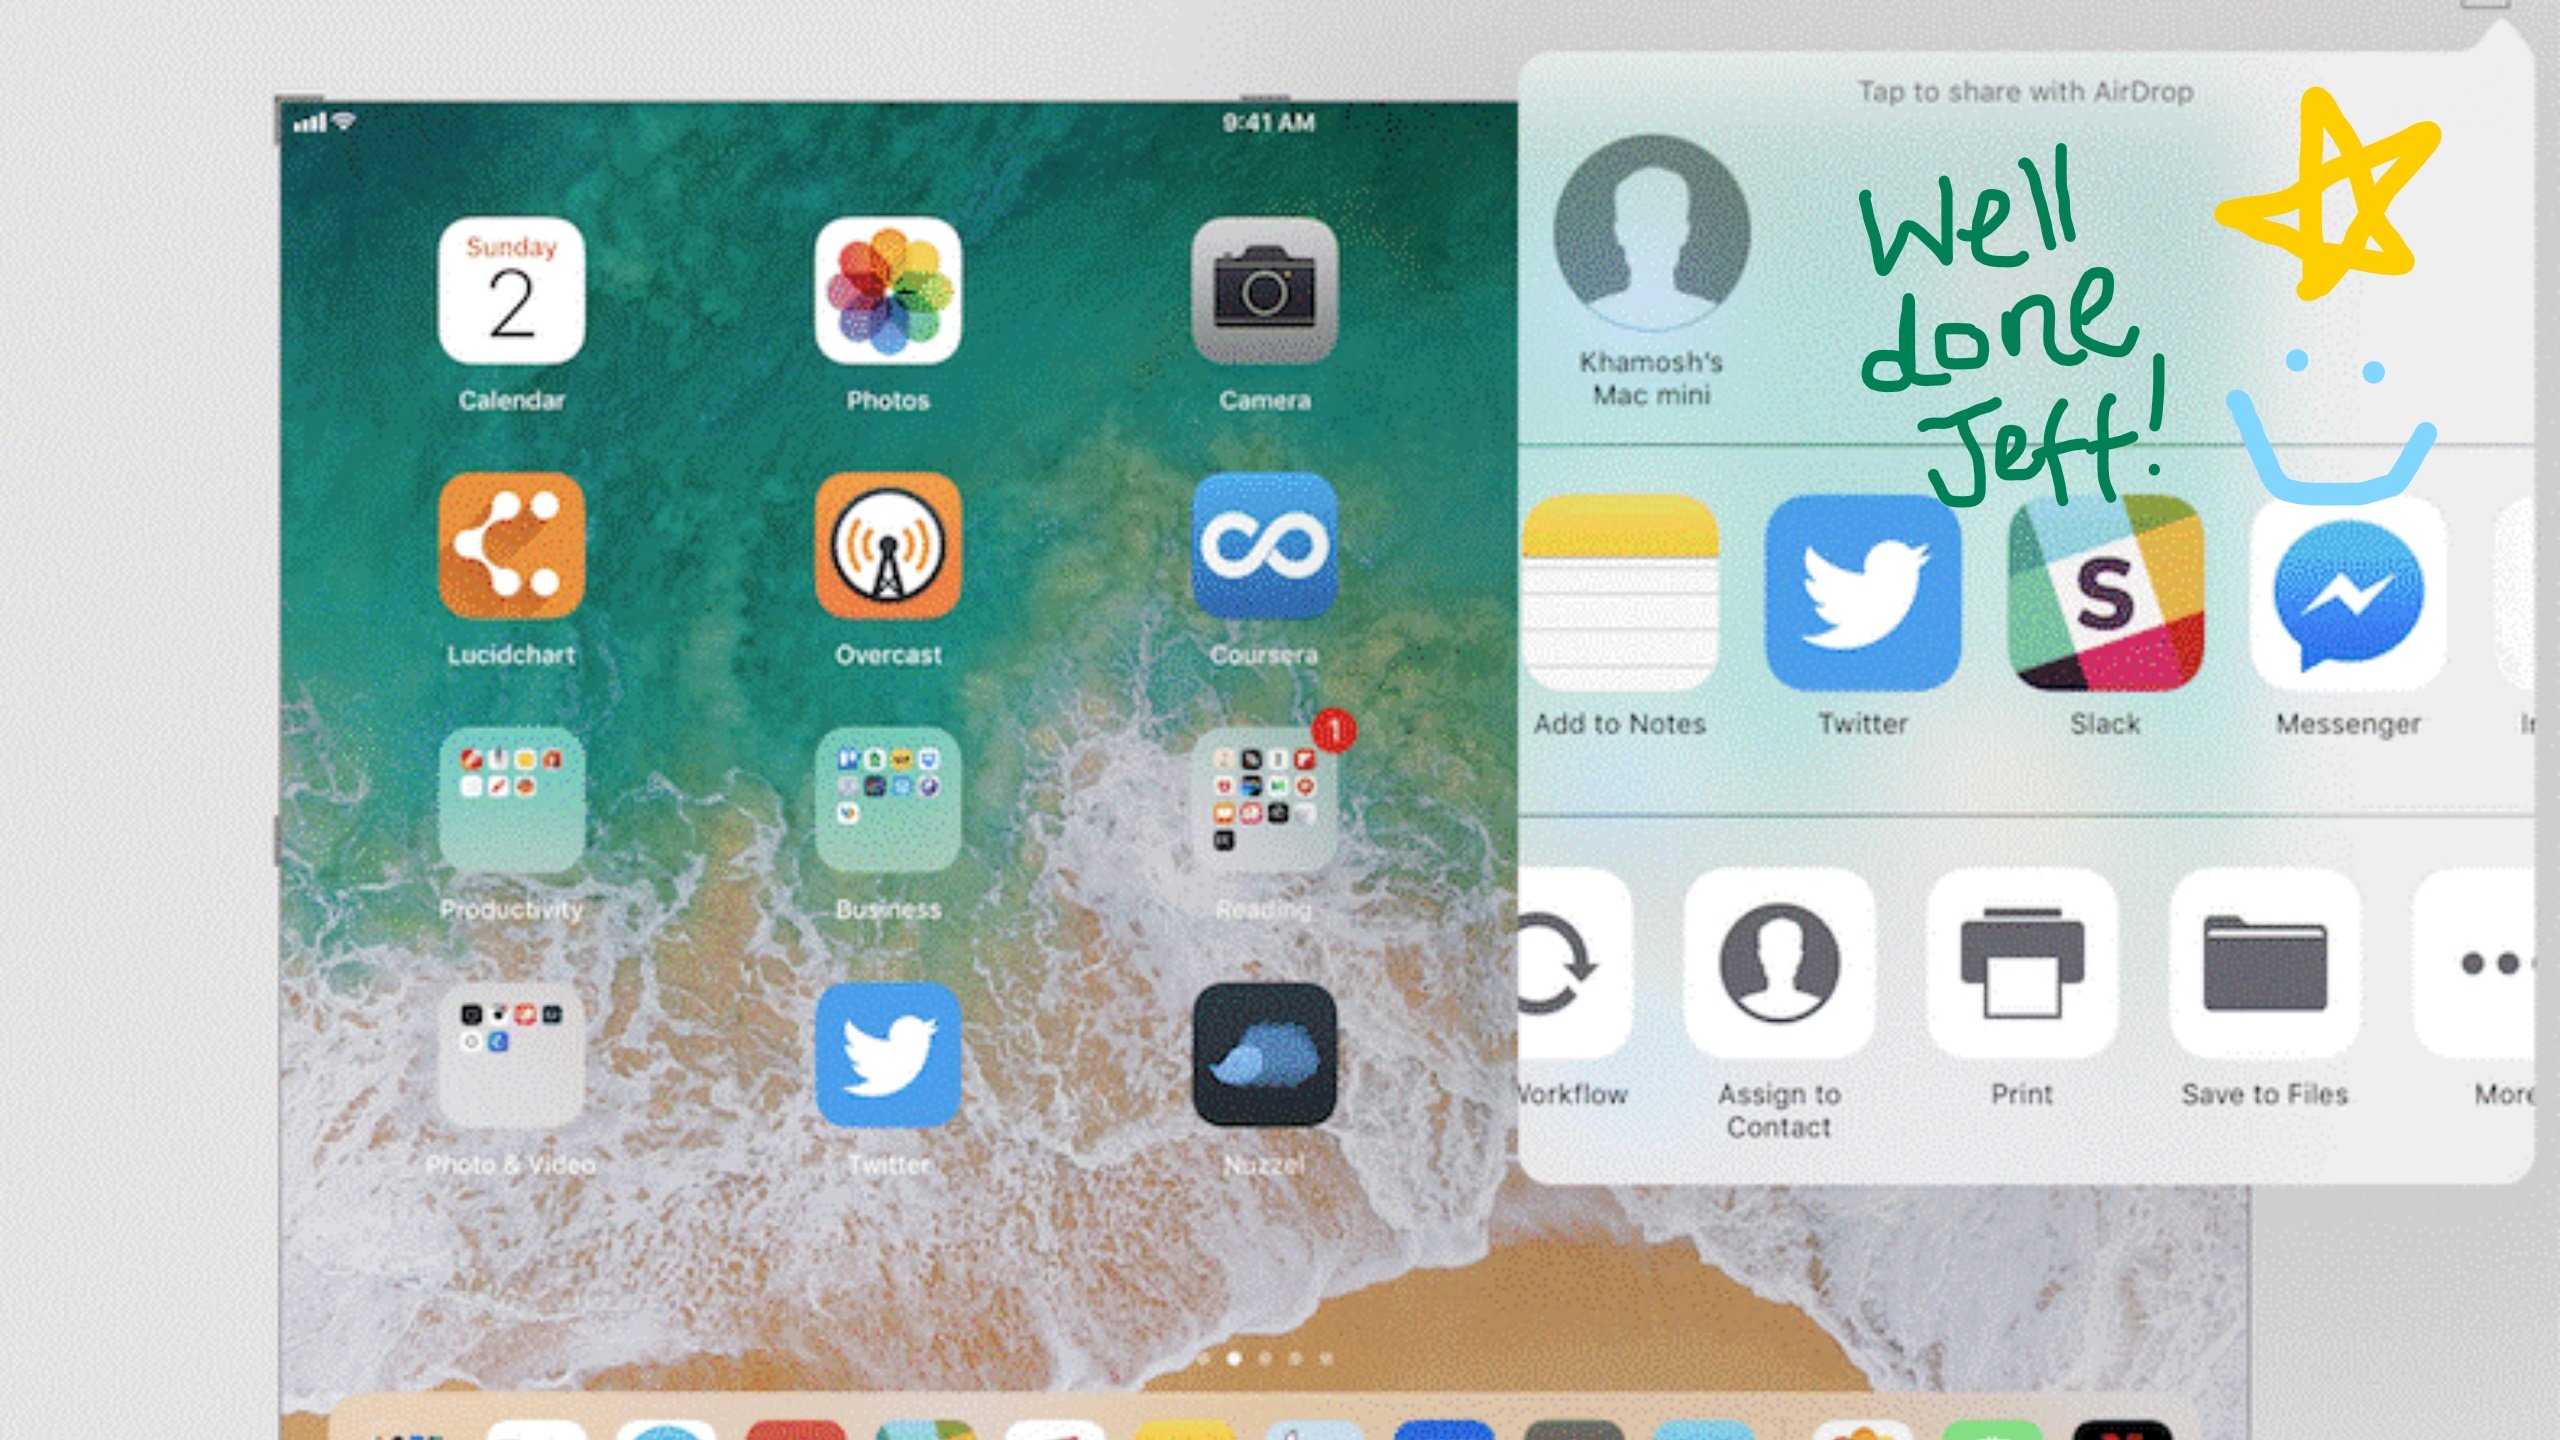
3. Take and annotate screenshots
Taking screenshots and annotating them is super easy on an iPad and it’s a really useful tool. Markup is available in lots of apps now including the iWorks apps of Pages, Numbers and Keynote. Simply pressing your home button and power button together will take the screenshot.
When you do that, now in iOS 11 it will place a thumbnail of your screenshot in the corner of your screen. To annotate that image (or series of screenshots if you have taken a few) simply tap on the thumbnail and the markup screen will appear.
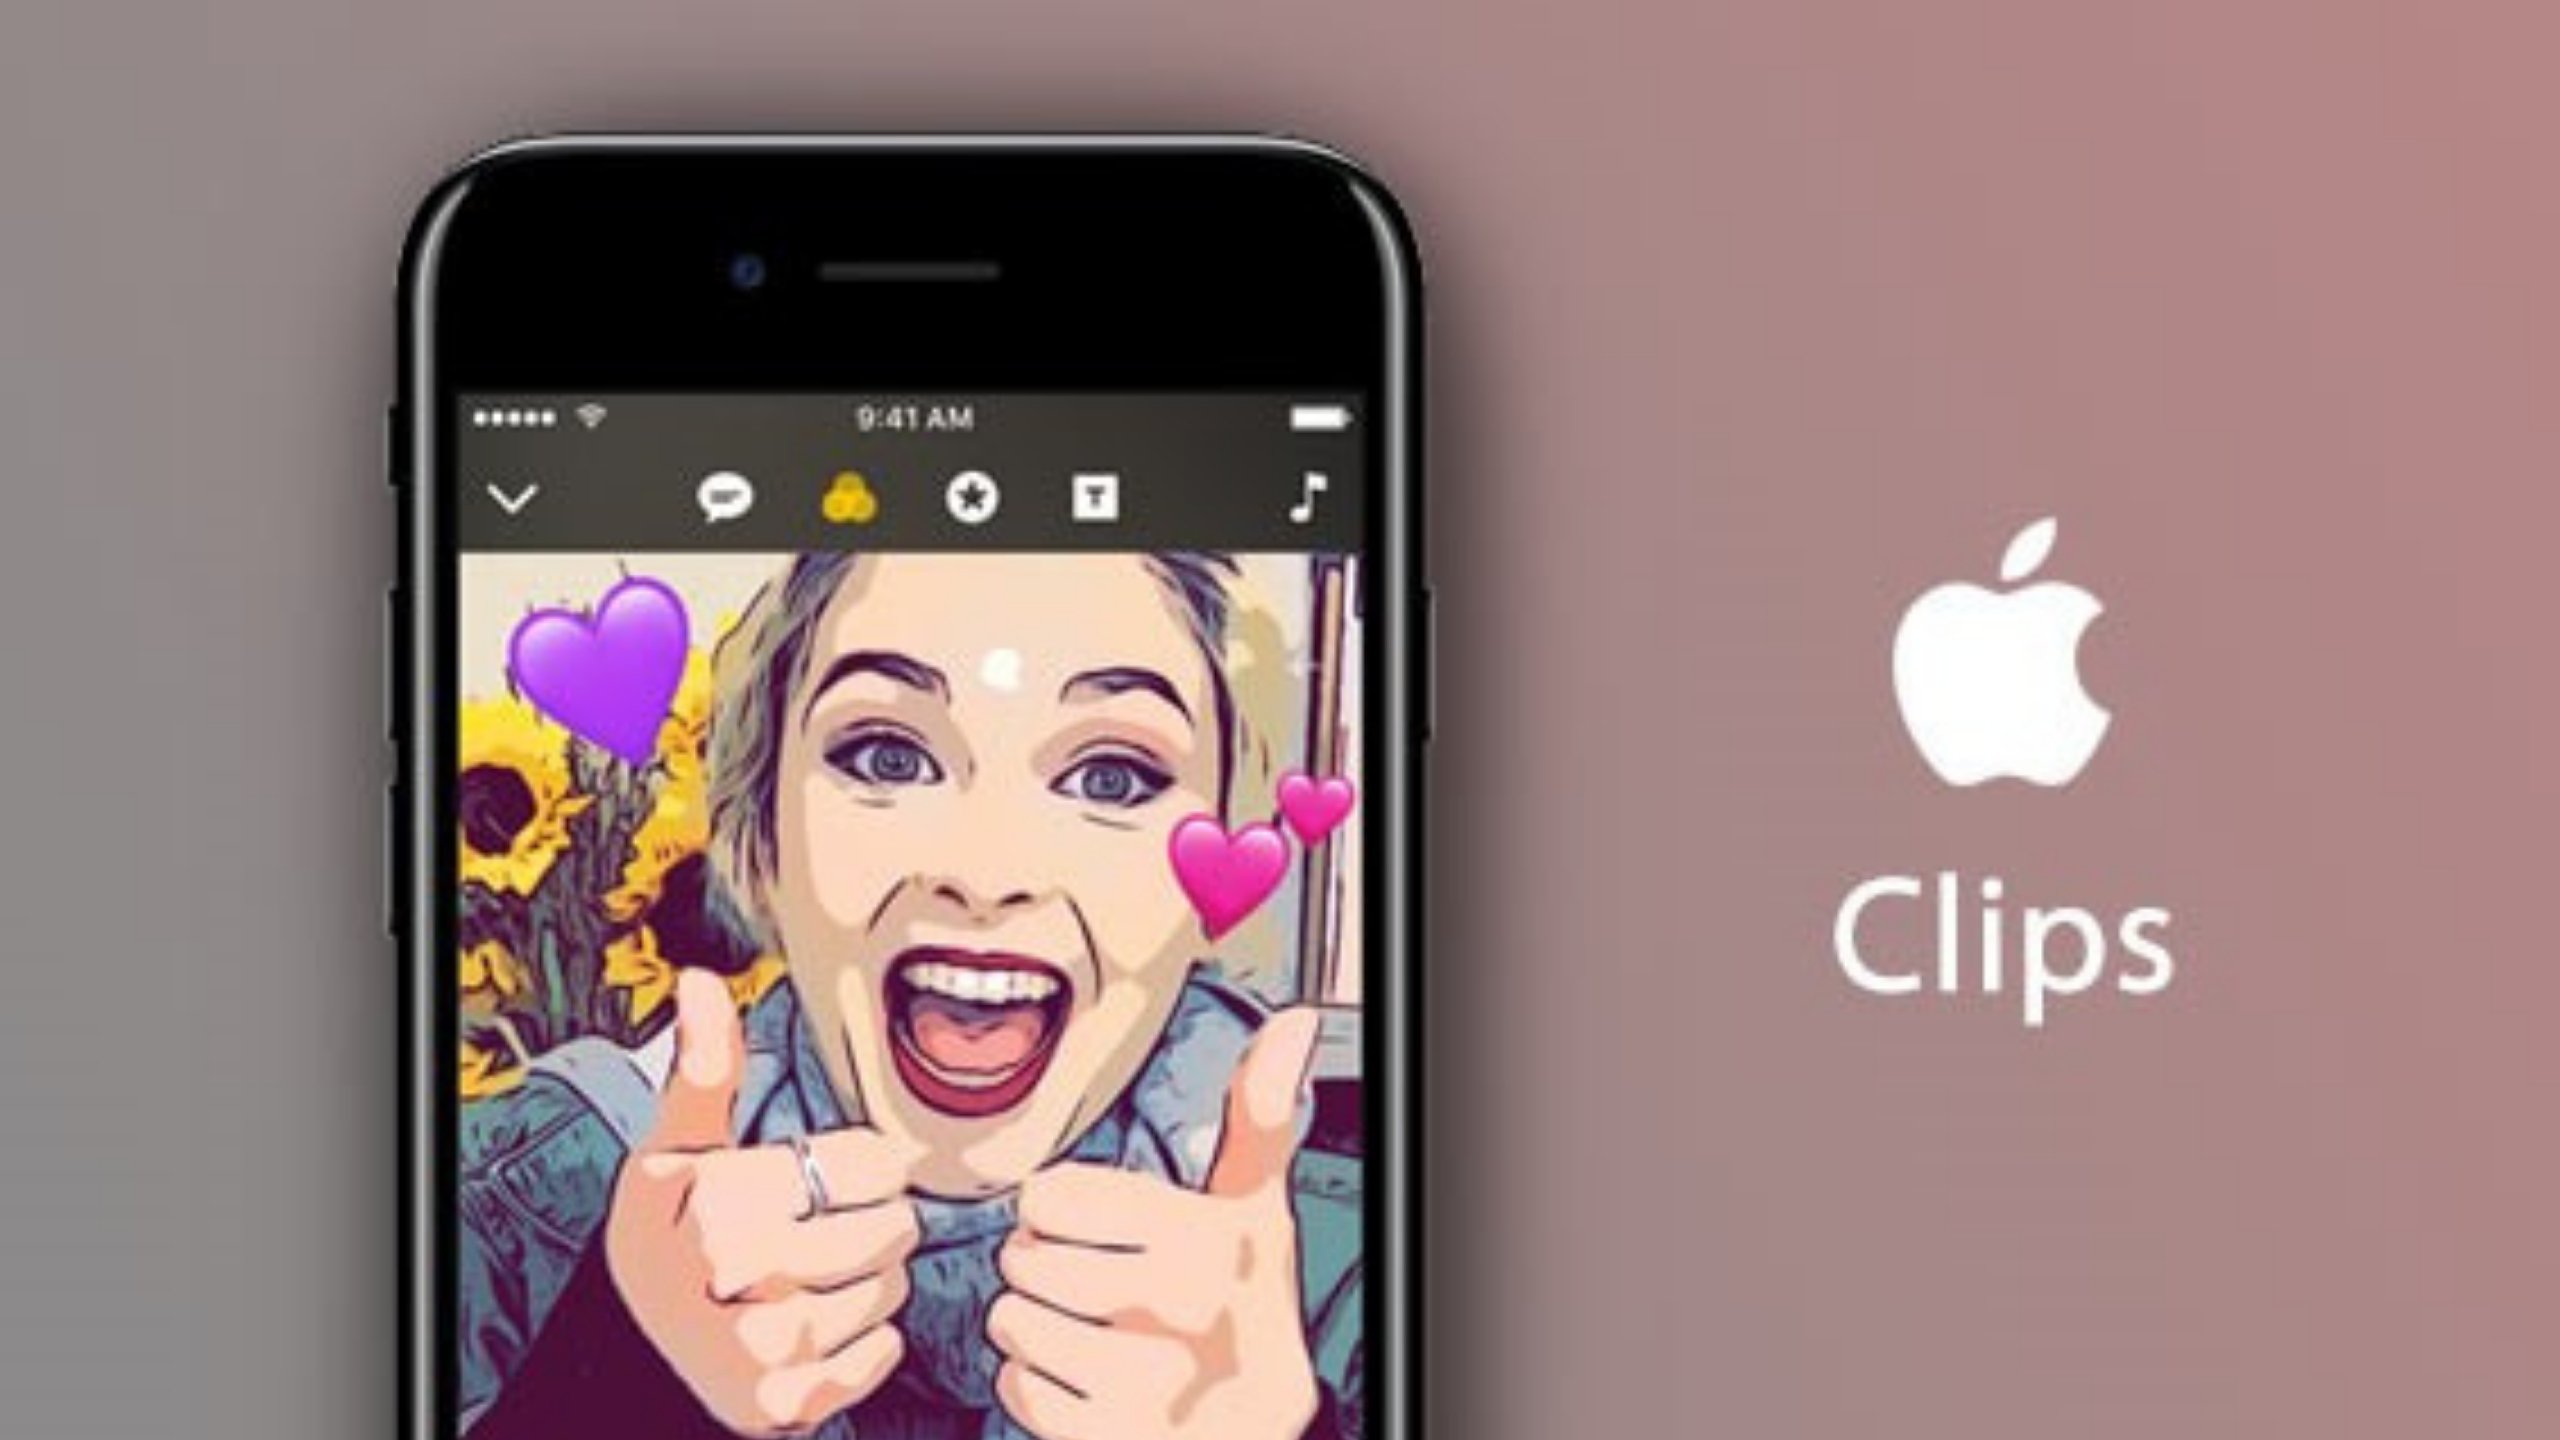
4. Use Apple Clips
Clips is a free app and as such is a simple way to share ideas and communicate learning. Its simplicity and easy to use interface mean it is perfect for learners of all ages to use in the classroom.
Clips also allows you to access content in your camera roll and use it to compile compelling stories. The Clips interface is easy to use and user-friendly no matter the user’s familiarity with technology. Clips makes it easy for kids to process the video experience.
Clips is a game changer, making format and presentation easy so that you can focus on content. Take a chance and see what your students can create with Clips.
5. Use mirroring
The right (and working) technology in your classroom is the dream of every teacher. But not all teachers are so lucky to have a 1 to 1 classroom. A lot of teachers have to figure out ways to teach with one computer or tablet.
In that case, you should be able to connect your iPad to the computer or to a projector.
Here’s how you get it done:
- Make sure to install Airserver or Reflector 2 for wireless mirroring or that you are connected to your projector or computer via cable.
- Place your iPad on the stand with the right papers under it.
- Open your camera or the app IPEVO Whiteboard or Stage.
- Start casting and annotate live on your iPad screen.
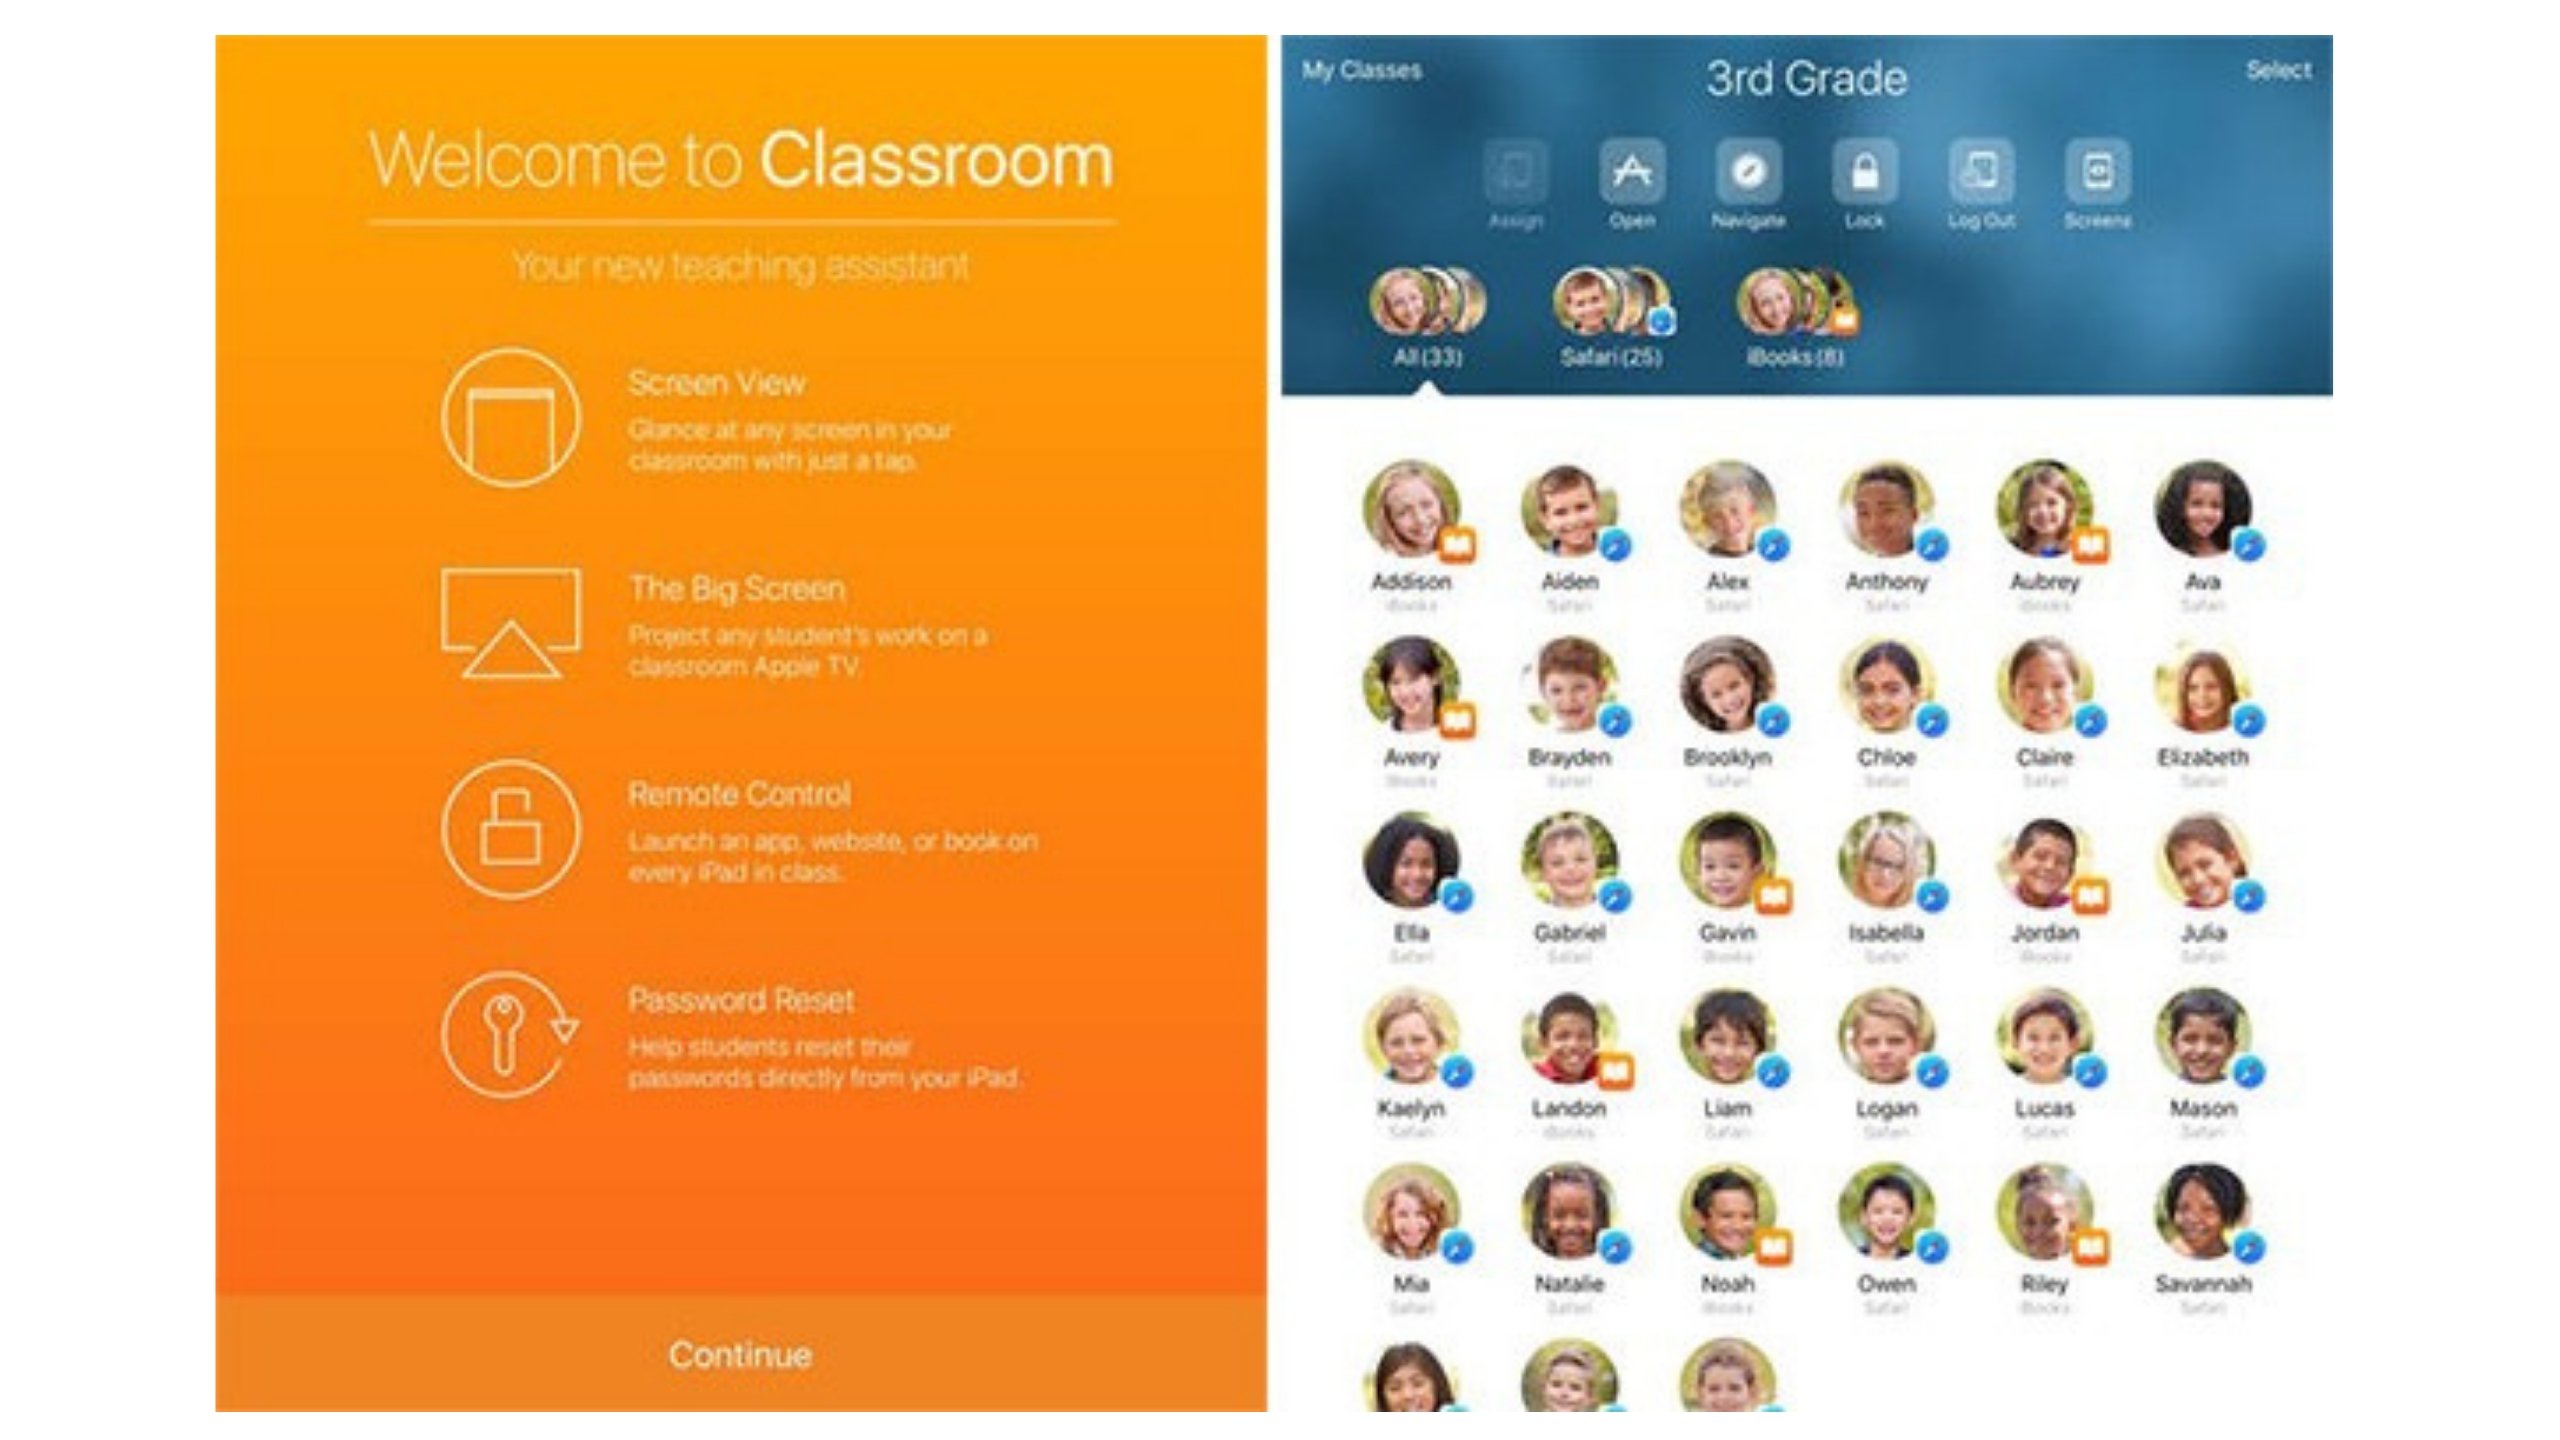
6. Use Apple Classroom
Apple Classroom is a powerful iPad app that helps you guide learning, share work and manage student devices. It supports both shared and one-to-one environments and effectively enables you as a teacher to see every child’s device. It allows you to:
- Share their screens to your screen
- Open apps on their device
- Lock their screens
- Open web pages on their device
- Open books in iBooks on their device
- Group students together
and much more besides.
It’s not like Google Classroom which is a hub for setting, collecting and assessing student work; Apple’s Classroom app is about having an efficient classroom.
Ultimately Apple Classroom speeds up processes. No longer do you have to wait 10 minutes while every child either scans a QR code or goes into another app to find a website address; now you can simply make that website, app or lots of other things just open up and appear on their devices. It saves time and enables you as the teacher in the room to make the most of the limited time that you all have together during a learning sequence.
7. Use Apple Schoolwork
Apple Schoolwork is a new base for you and your students. The best way to learn is by doing and making. The Schoolwork app helps you and your students more effectively use the creative power of iPad.
You can easily distribute and collect assignments, keep an eye on student progress in educational apps, and collaborate one on one with students from anywhere, in real time. It’s easy for students to use, too.
Assignments automatically appear on their iPad, organized by due date and class. And Schoolwork helps you keep track of how everyone in class is doing — so you can tailor your teaching to the needs of each of your students.

8. Use the camera
The camera app on the iPad is one of the most powerful tools on the device. The two cameras on the iPad can help with all sorts of things in the classroom, whether it’s:
- Taking photos on a school trip to explore on your return
- Using the camera to engage with relevant and purposeful AR apps
- Using the camera to create 360° images to facilitate VR experiences
- Recording science experiments or other learning activities in slo-mo, such as in PE, to ease analysis
- Take pictures of student work
- Take pictures of events
- Record videos of performances
the list goes on….
Linked to images and taking photographs or videos, the screenshot feature (you press your home button and standby button together to take a screenshot) is really powerful, and once you add in markup (point 3) to the mix so you can annotate those screenshots, it becomes even more powerful.
In summary
If you haven’t already, get yourself over to the Apple Teacher site and get yourself signed up on there, using your Apple ID. Not only can you benchmark where you are at with your knowledge about teaching with technology but also learn how to use lots of the great, creative and innovative apps on your iPad in ways which can really impact learning.
Once you’ve gone through that training too you can then complete the various tests to gain your Apple Teacher badge.
Another way to stay on top of great ed-tech advice is by reading through some of Opogo Community Expert and resident Ed-tech guru Pete Atherton’s blogs on other ways to utilise technology in the classroom.


I am willing and ready to work
I want to work